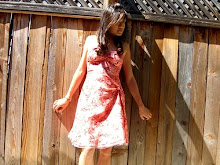
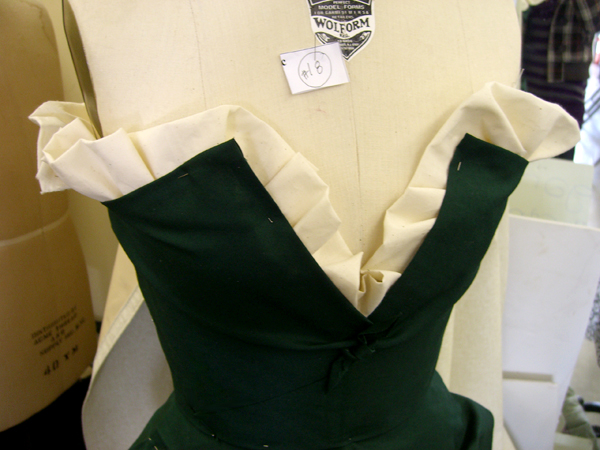
This year I wanted to make something very feminine and soft. Since I did not have a lot of time to sew, let alone draft a pattern (and do a muslim mock up!) due to my schedule, I decided to try out another pattern from Burda magazine.

Chiffon and ruffles... can you get more girly and summery than that? :)
This pattern is from the 7/2010 issue of Burda. This is my second time using a pattern from the magazine and I love it. I have not tried out many commercial patterns, but of the ones I have (Vogue, Simplicity, McCall) Burda has been my favorite to work it. I rarely have to do much alterations to the pattern itself and I love their straightforward instructions (if you are a beginning sewer, the magazine may be challenging as they only provide the absolute bare minimum when it comes to constructing the garment). I decided to pick out a printed chiffon for the dress, but keep with the same nude color scheme which is very trendy this year.

Some changes I made to the pattern:


This pattern is from the 7/2010 issue of Burda. This is my second time using a pattern from the magazine and I love it. I have not tried out many commercial patterns, but of the ones I have (Vogue, Simplicity, McCall) Burda has been my favorite to work it. I rarely have to do much alterations to the pattern itself and I love their straightforward instructions (if you are a beginning sewer, the magazine may be challenging as they only provide the absolute bare minimum when it comes to constructing the garment). I decided to pick out a printed chiffon for the dress, but keep with the same nude color scheme which is very trendy this year.
Some changes I made to the pattern:
- Omitted the last layer of chiffon. It seemed too long for me, but now when I look at the photos maybe I should have added it, lol.... but also a basic design rule is things look best in odd numbers!
- I narrow-rolled hem each ruffle. You cannot see from the photo above, but they had left the edge of each ruffle raw and did a fray effect. I wasn't a big fan of the result.
- Decreased the width of the neck ruffle slightly. Also made the first ruffle a bit wider. The length stated in the magazine gave me a very pregnant look from the side, lol. If I did it over again, I would drop the empire waistline to help even out the layers.
- Instead of sewing two layers of chiffon together to act as a lining, I decided to line the dress with satin. I was afraid three layers of chiffon fabric wasn't opaque enough to wear the dress out in the sun :P
Other than that, I stayed pretty close to the pattern. Although a bit time consuming due to the layers, it is a rather simple and straightforward pattern! Out of the three dresses I have made for the Pageant, I received the most compliments on this one :)
Can't help but laugh sometimes at the seriousness of "modeling," lol :P
http://www.burdastyle.com/projects/ruffle-printed-chiffon-summer-dress
So light and airy, perfect for the absolutely beautiful summer day we had. Actually, it was SO sunny that a lot of the photos came out hazy! :/
The day of I did my hair in a curly-style messy bun and paired the dress with pink crystal chandelier earrings, a diamond necklace my mom gave me ♥, brown oversized Gucci sunglasses and a vintage Gucci wristlet (we're in Laguna after all!), and nude wedged slingbacks from Naturalizer (I'm usually not a fan of Naturalizer other than work pumps, but these were cute and super comfy, win win since we did a lot of walking!)
By the way, this is my fifth year in a row to the Festival of Arts/Pageant of the Masters. If you live in Southern California and have never been to it, I highly recommend it. It is a truly unique art event... I look forward to it every year now!
The day of I did my hair in a curly-style messy bun and paired the dress with pink crystal chandelier earrings, a diamond necklace my mom gave me ♥, brown oversized Gucci sunglasses and a vintage Gucci wristlet (we're in Laguna after all!), and nude wedged slingbacks from Naturalizer (I'm usually not a fan of Naturalizer other than work pumps, but these were cute and super comfy, win win since we did a lot of walking!)
By the way, this is my fifth year in a row to the Festival of Arts/Pageant of the Masters. If you live in Southern California and have never been to it, I highly recommend it. It is a truly unique art event... I look forward to it every year now!




 Posts
Posts